There are numerous requests on how to do things around in SharePoint from beginners. So wanted to start off with how to create a web application.
The hierarchy in SharePoint always goes like this:

(Image Credits to technet)
Web Application is the parent, Site Collection is the child, Sites are grand children. Lets see how to create a Web Application in SharePoint 2013.
- In the SharePoint installed server, Open the Central admin in administrator mode. Preferably in IE.

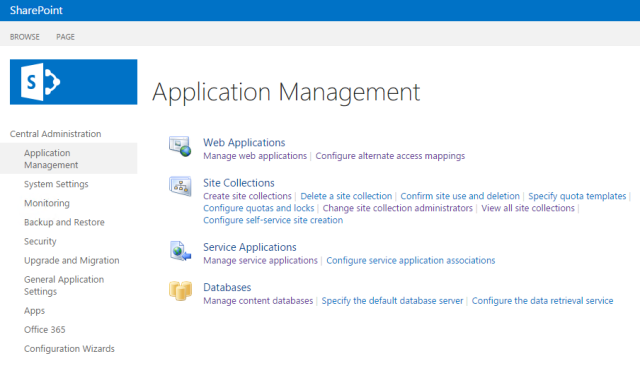
- Click on Application Management link on the left and on the opening page on the right, click on Manage web applications

- And in the page that opens, click New on the top left menu. This will trigger to create a new Web Application.A popup window will be opened asking for the relevant information.

- Once you click on the New, you will see a popup on the screen, which will ask for information on the Application. Change the port number and the name will auto change to fix in to the port. Then scroll down to update the content db’s name so that it is easily identifiable. It will go like WSS_Content, change it to WSS_Content_<portnumber> for example.


- Scroll to the bottom and click OK. No need to change anything else if this is just for a testing process. We will see one by one, in this pop up in my future posts to understand it more. Once the process is initiated by clicking OK button, we will be able to see the below and after few minutes, the Web Application will be created and a success message with a “Create Site Collection” link will confirm on that part as well.


- The next step is to Create a Site Collection which will be shared in the next post.


You must be logged in to post a comment.